5.10. Personalized text action 
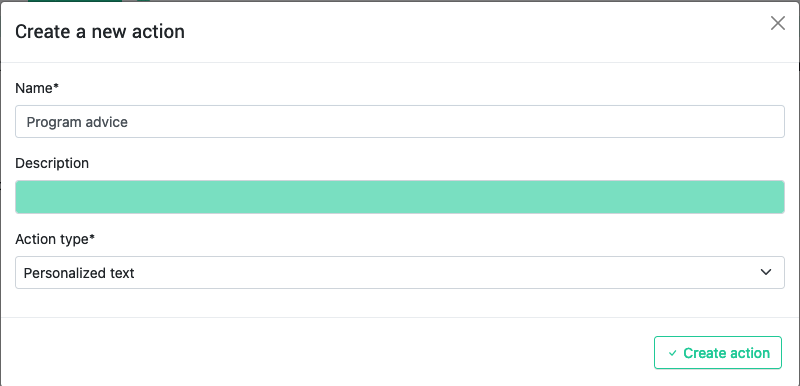
Click on the button to create a New Action , provide a name, a description (optional) and select the type Personalized text .
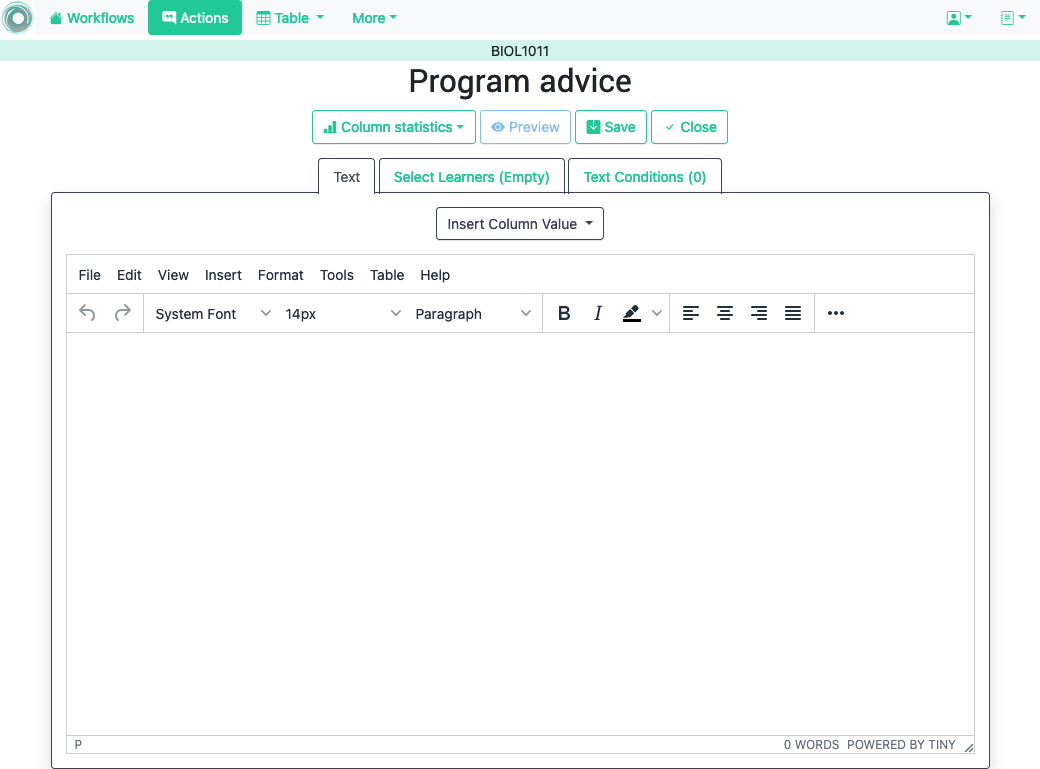
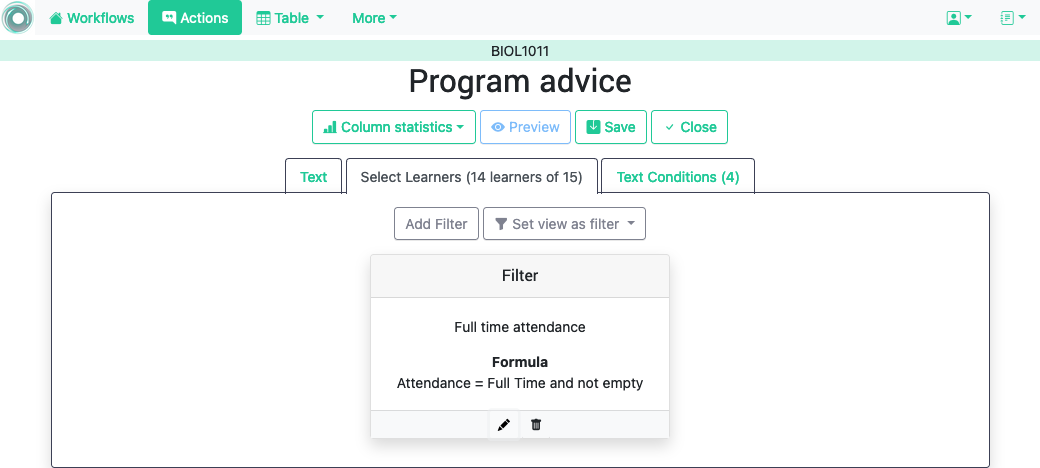
The next screen is the personalized text action editor . The functions in this page are divided into three areas represented by the tabs: Personalized Text, Select Learners and Text Conditions. The following figure shows and example of this page.
- Text
-
This area is the HTML text editor to write the content to personalize. It contains pull-down menus to insert column values and attributes.
- Select Learners
-
This section allows to define a filter , or a condition to select a subset of the learners for which this action will be considered.
- Text Conditions
-
This section contains the conditions to be used in the personalized text.
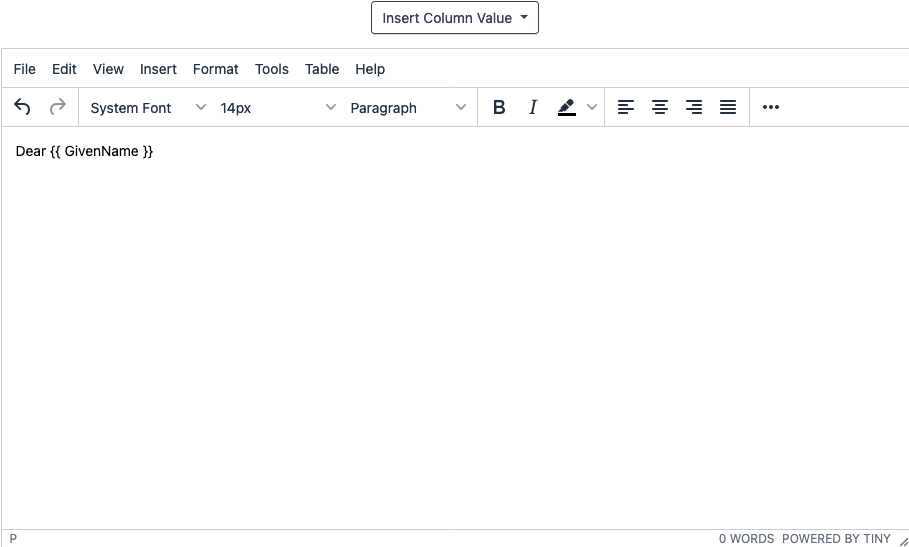
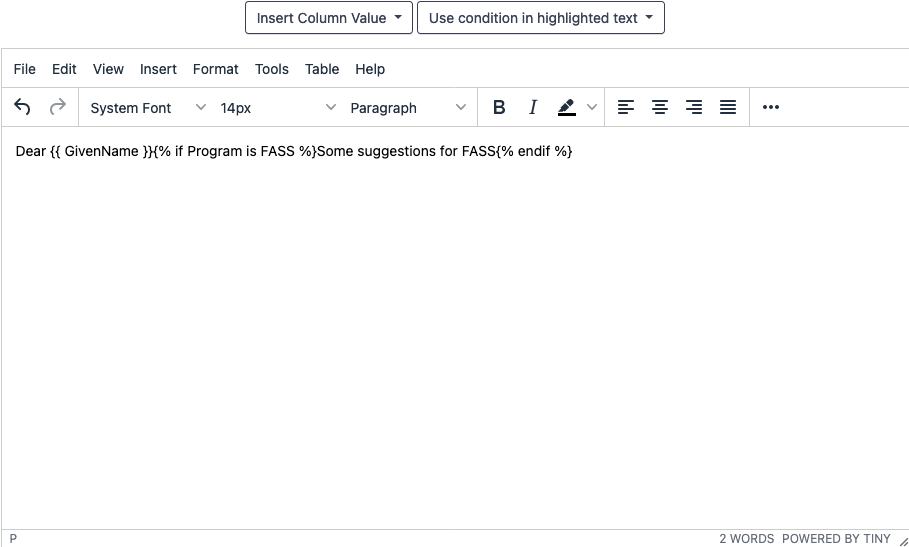
Place the cursor in the text area and start the text with a salutation. Then click on the pull down menu next to Insert Column Value . Select the column GivenName . The string {{ GivenName}} appears in the text area. This notation is to instruct the next steps to replace the value among double curly braces with the name of each student.
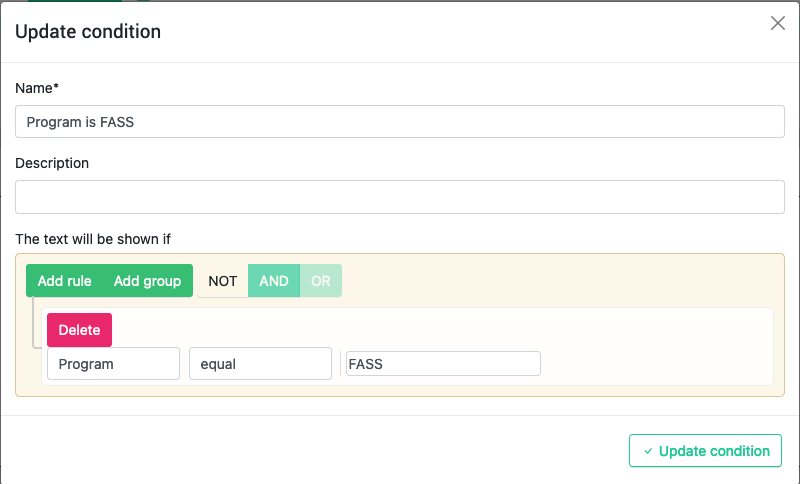
Select the Text Conditions tab and click on the Condition . A form appears to introduce the name, description and a formula. The formula may contain any combination of Boolean operators connecting column names. For example, the condition:
Program equal to FASS
can be encoded in the formula as shown in the following figure
We now are going to use this condition to control the appearance of text in the editor. You need to perform the following three steps:
-
Switch to the Personalized Text editor tab.
-
Write a sentence in the editor with a message that should apply only to those students in the FASS program.
-
Select it with the mouse.
-
Click in the pull down menu with the text Use condition in highlighted text
The result of these steps is shown in the following figure
The text message you wrote for those students in the FASS program is now surrounded by two marks:
{% if Program is FASS %}Here are some suggestions for FASS{% endif %}
This is the format to instruct OnTask to check the value of the condition
           Program


           is


           FASS
and include the surrounded text only if the condition is true.
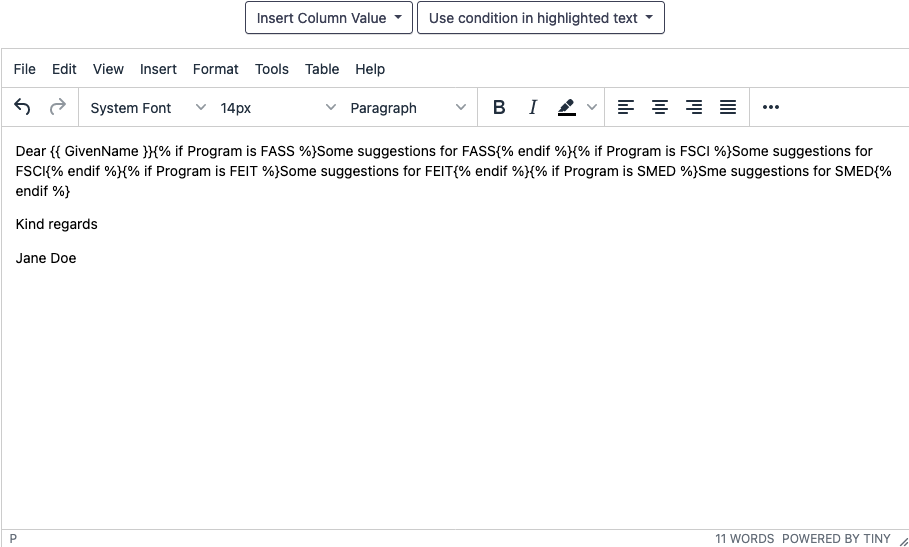
Repeat the procedure and create three more conditions such that they are true if the value of the Program columns is equal to FSCI , FEIT , and SMED respectively. Insert three more messages in the text area that are controlled by their respective conditions. At the end, each sentence will be surrounded by text referring to each of the four conditions you created:
5.10.1. Selecting only a subset of learners 
In some cases, you may want to create a personalized text only for a subset of the learners. This can be done defining a Filter at the top of the screen (area 1). For example, the following filter:
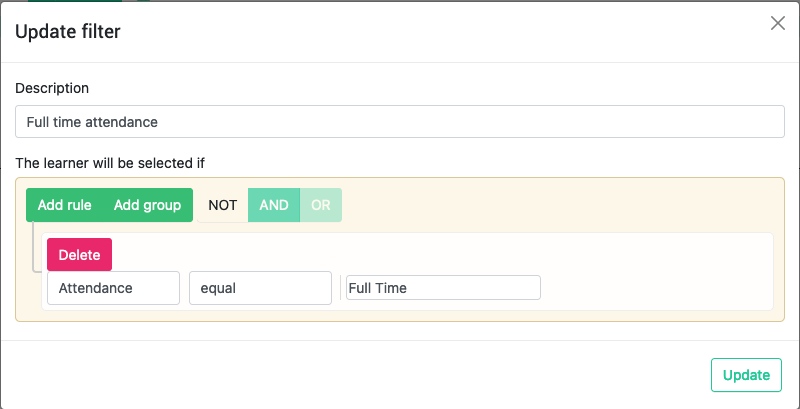
selects only those learners for which the column Attendance in the table has the value Full Time . Upon closing the small window with the filter data, the editor screen contains information about how many learners are being selected by that filter.
The application will show a message if the filter excludes all the learners (none of them satisfy the condition given in the filter).
The text in the editor will be processed for each row in the table (or the subset specified by the filter) and all conditions and fields will be evaluated with the values in that row. In other words, if a sentence is surrounded by one condition, the condition is evaluated replacing the column names by the values in the row. If the condition is True , the text will appear, and if not, it will be ignored.
The button with name Preview at the bottom of the editor allows you to see the text resulting from the evaluation of each row.
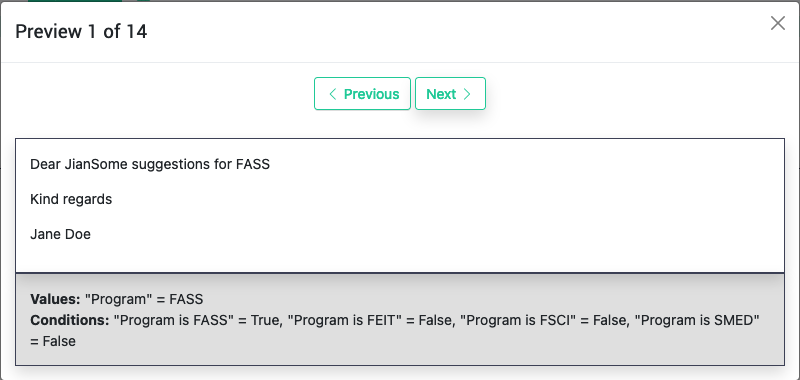
The bottom part of the screen shows the values of those columns that were used to evaluate the conditions required in the text. You may use the arrows at the top of the screen to review the message and see how it is changing from learner to learner.