5.5. Create an empty workflow 
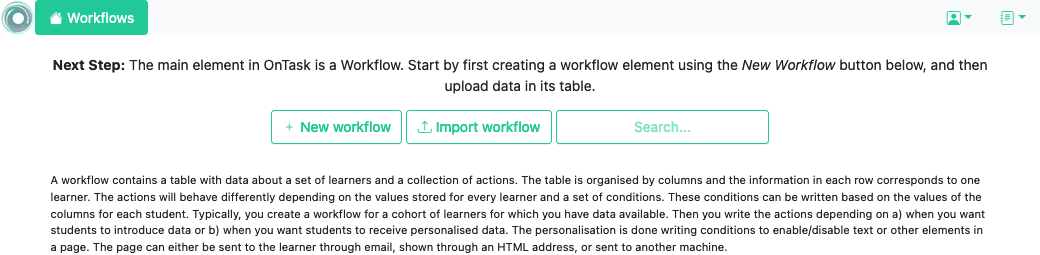
Log into the tool. If you have an instructor account, you will see the New workflow button to create a new workflow as shown in the following figure.
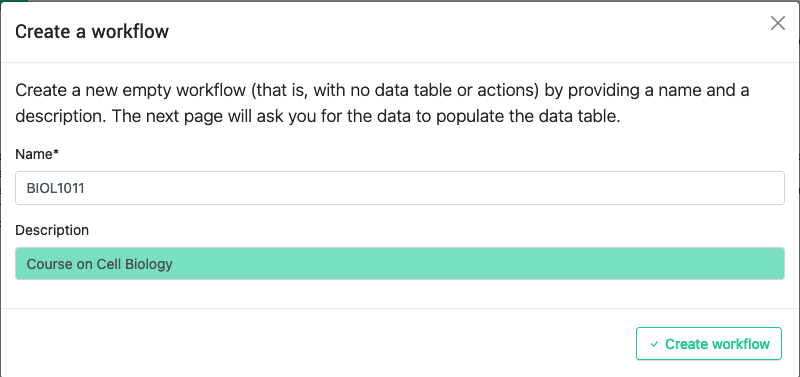
Click in the button and enter its name and a description.
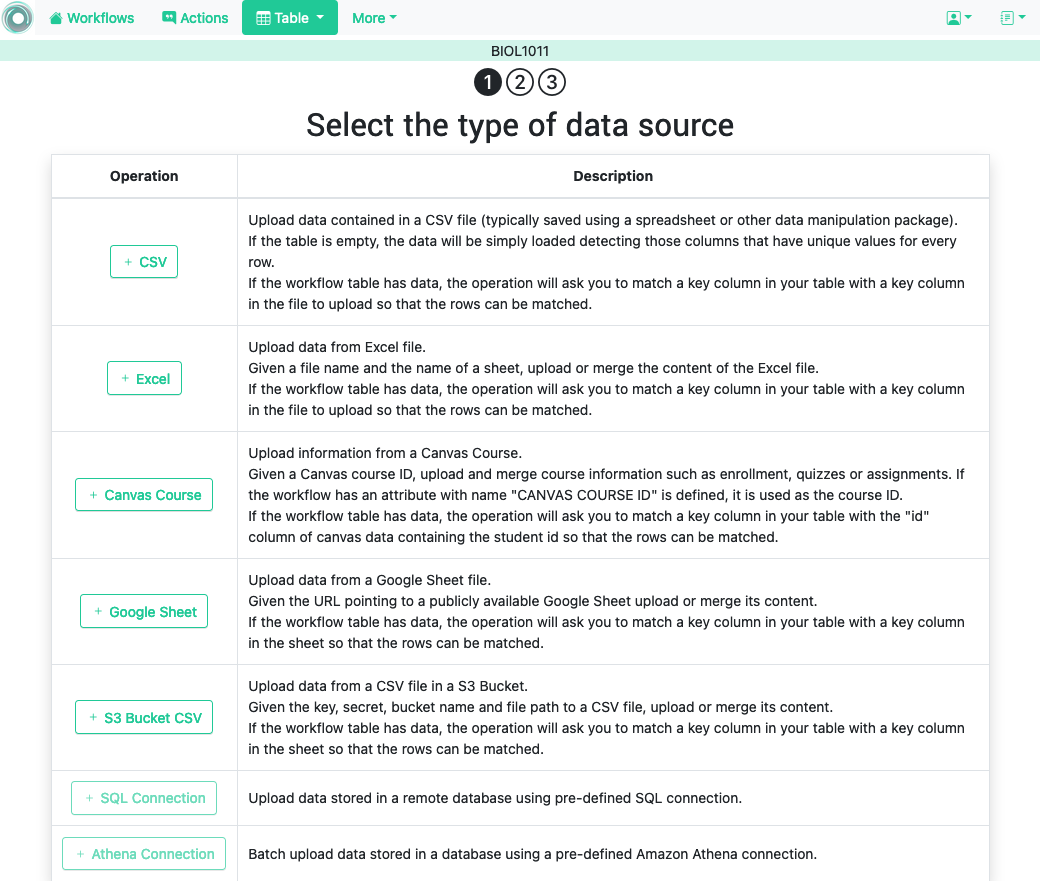
After creating the workflow, the next screen has the menu to upload data to the table. The current workflow is shown underneath the top menu as shown in the following figure (the string BIOL1011 with a blue background).
You can always click on the Workflows link at the left corner of the top menu to go back to the home page and select a different workflow to open (or create a new one).
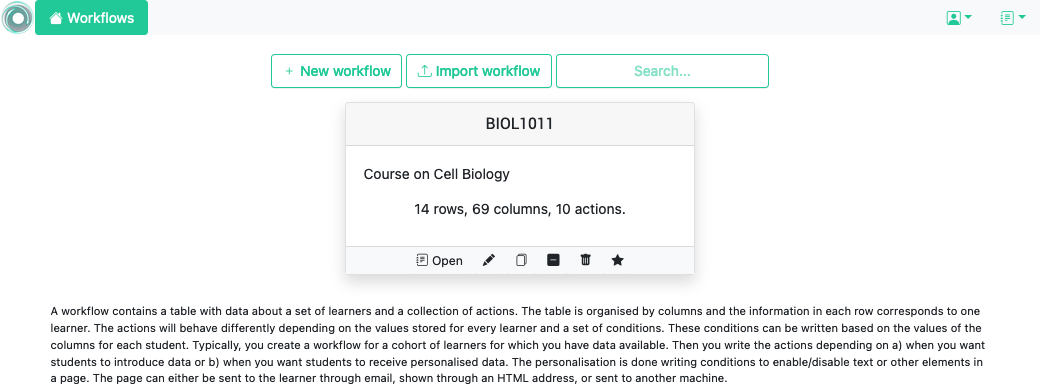
Each workflow is represented by an element showing its name, description, size of the table, and number of actions. Additionally, the icons in the bottom of the element allow the following operations:
Open the workflow for manipulation
Rename and change the workflow description,
Clone the workflow (create and exact replica with a modified name),
Delete data in the workflow table, or
Delete the workflow.
From any screen in the platform, the icon in the top right corner next to your profile image is a link to the OnTask documentation.